
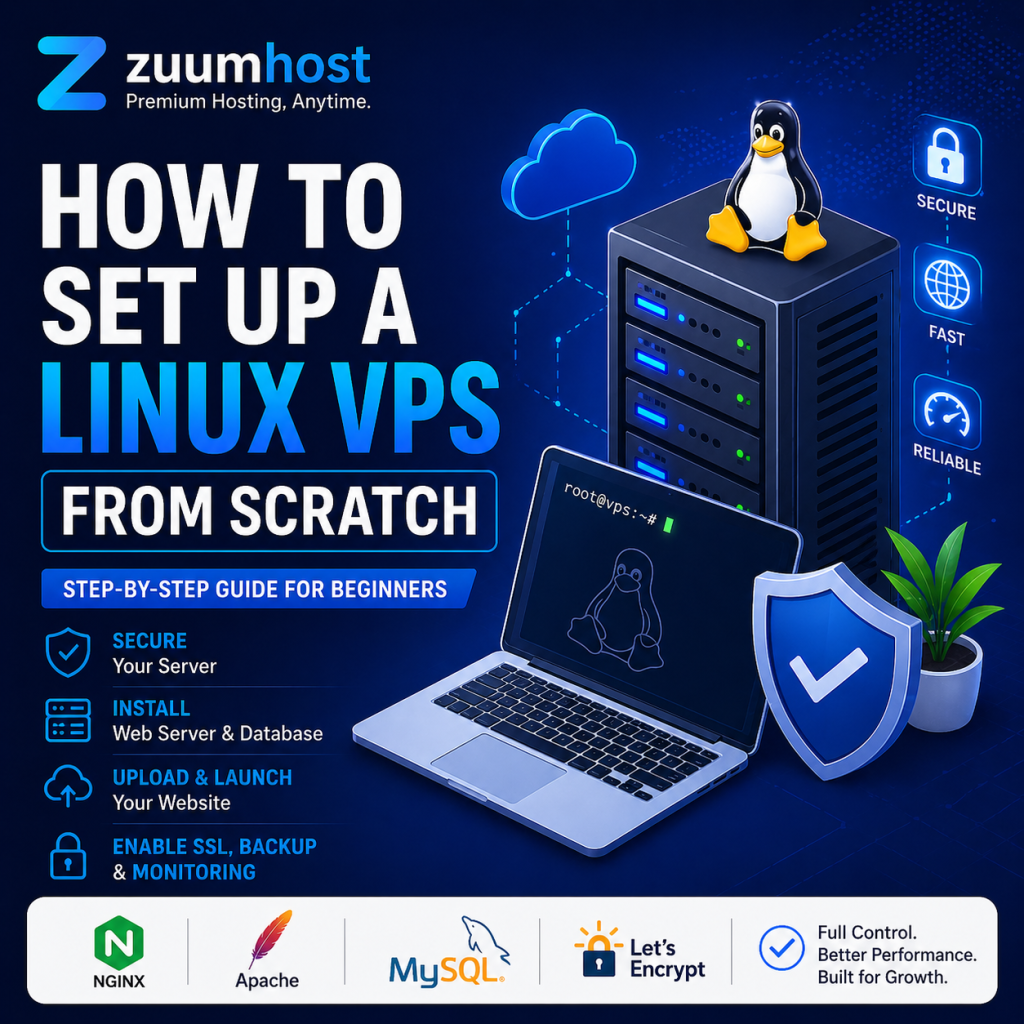

How to Set Up a Linux VPS From Scratch (Step-by-Step Guide)
Getting a VPS is a big upgrade from shared hosting. You now have full control, better speed, stronger security, and the freedom to run any application you want.
If you just purchased a VPS from Zuumhost, this guide will walk you through everything you need to do to get your server ready from scratch.
Let’s get started
What You’ll Learn in This Guide
By the end, you will know how to:
- Access your VPS securely
- Update and protect your server
- Create a safer admin user
- Install a web server and database
- Upload your website
- Connect your domain and enable SSL
- Set up backups and monitoring
Step 1: Connect to Your VPS via SSH
After purchasing your VPS, you will receive:
- Server IP address
- Root username
- Root password
Use Terminal (Mac/Linux) or PuTTY (Windows) and connect with:
</> Bash
When prompted, type yes to confirm the connection.
Immediately change the default password:
</> Bash
Step 2: Update Your Server Packages
Before installing anything, update the server to the latest versions.
For Ubuntu/Debian servers:
For CentOS/AlmaLinux:
Step 3: Create a New Admin User (Important)
Working as root all the time is risky. Create a new user instead.
Create the user:
</> Bash
Grant admin (sudo) privileges:
Switch to the new user:
Disable Root Login for Better Security
Edit SSH configuration:
Change this line:
To:
Restart SSH:
Your server is now much safer
Step 4: Configure Firewall Protection
Your VPS must only allow trusted connections.
Enable firewall:
</> Bash
sudo ufw enable
sudo ufw status
Allow website traffic:
sudo ufw allow https
Now your server is protected from unwanted access.
Step 5: Install a Web Server
Choose one of the most popular web servers.
Install Apache:
OR install Nginx:
Test by visiting:
You should see the default web page
Step 6: Install MySQL Database
Most websites (especially WordPress) require a database.
Install MySQL:
Secure the installation:
Follow the prompts to:
- Set root password
- Remove test users
- Disable remote root login
Step 7: Upload Your Website
Option 1 — Upload via FileZilla (SFTP)
Upload files to:
Option 2 — Deploy using Git
Set proper permissions:
</> Bash
Step 8: Connect Your Domain
Update your domain DNS and point the A Record to your VPS IP.
After DNS propagation, visit:
Your site should now be live
Step 9: Install Free SSL (HTTPS)
Secure your website using Let’s Encrypt.
sudo certbot –nginx
Step 10: Monitoring, Updates & Backups
Install helpful tools:
What they do:
- htop → Monitor server performance
- fail2ban → Blocks brute-force login attacks
- unattended-upgrades → Automatic security updates
For backups, use tools like rsync or schedule remote backups to cloud storage.
Final Thoughts
Setting up a VPS may feel technical at first, but once completed, you gain full control, top-tier performance, and stronger security for your websites and applications.
With your Zuumhost VPS properly configured, you now have a powerful hosting environment ready to handle growing traffic, advanced projects, and business-critical workloads.
Take your time to keep your server updated, monitor performance regularly, and always maintain backups. These simple habits will keep your VPS fast, secure, and reliable for the long run.
Welcome to the world of VPS hosting