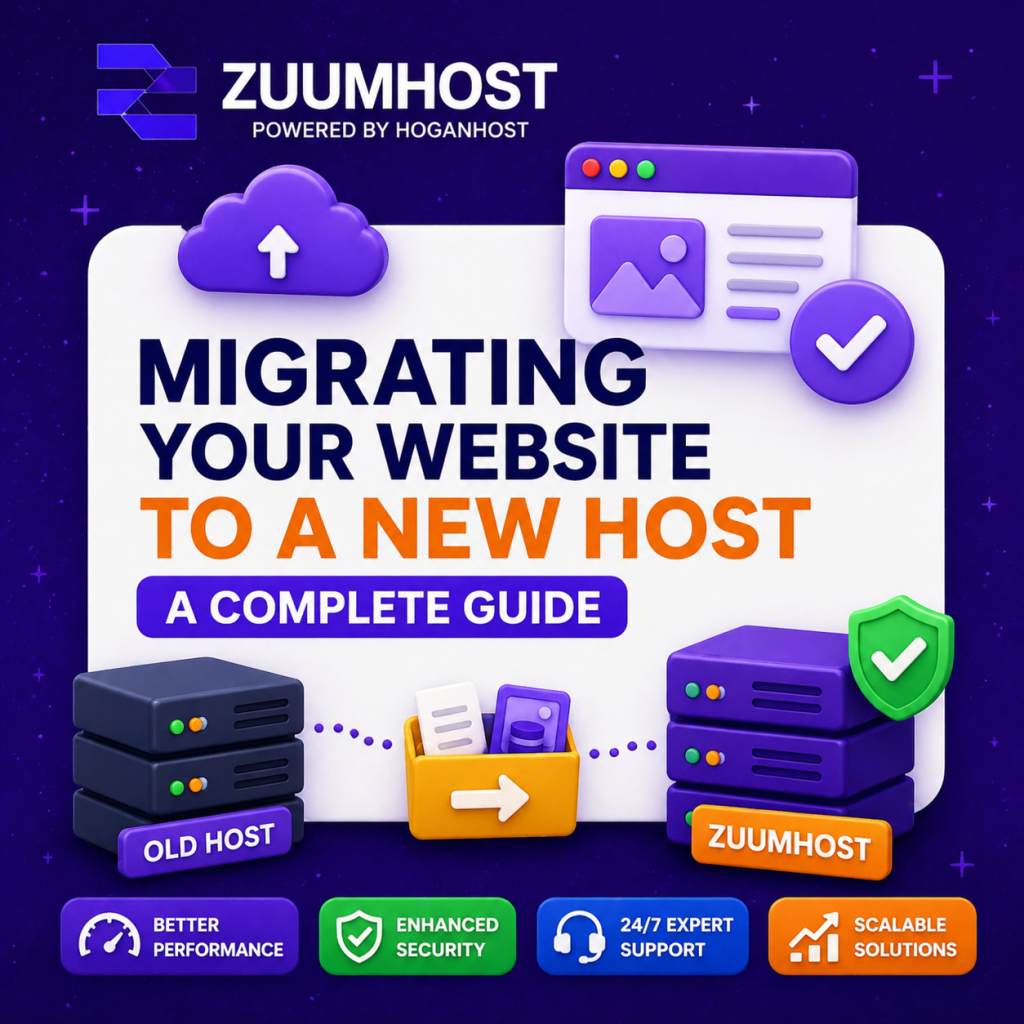
Migrating Your Website to a New Host: A Complete Step-by-Step Guide
Moving your website to a new hosting provider might sound complicated, but with the right approach, it can be smooth and stress-free. Whether you’re switching for better performance, improved support, or more affordable plans, migrating your site properly ensures zero data loss and minimal downtime.
In this guide, we’ll walk you through how to successfully migrate your website to a new host like Zuumhost.
Why You Might Need to Migrate Your Website
There are several reasons website owners decide to switch hosting providers:
- Slow website performance
- Frequent downtime or server issues
- Poor customer support
- Need for more features or scalability
- Better pricing from another provider
If you’re experiencing any of these, it may be time to upgrade your hosting experience.
Step 1: Choose Your New Hosting Provider
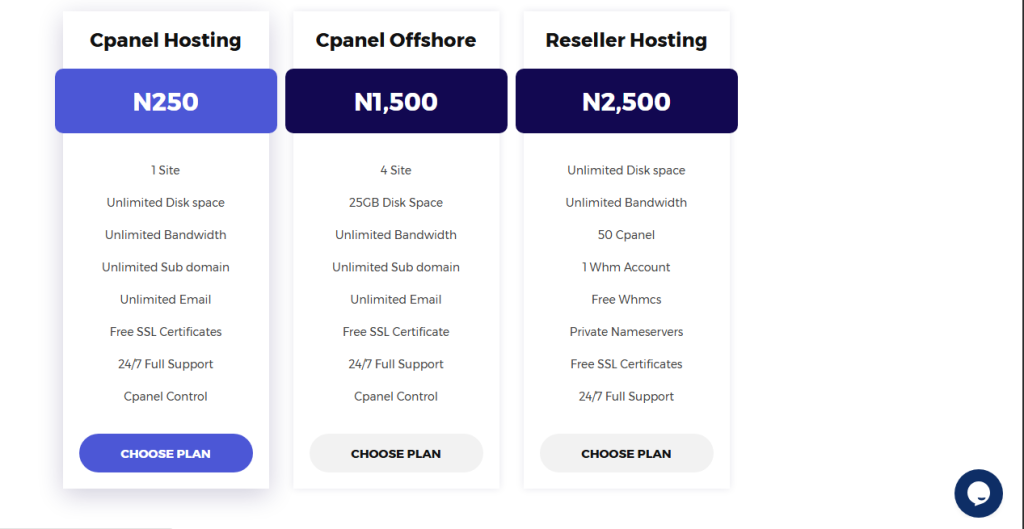
Before anything else, select a reliable hosting provider. With Zuumhost you get fast servers, strong security, and user-friendly tools to manage your website efficiently.
Make sure your new plan supports your website’s requirements, including storage, bandwidth, and software compatibility.
Step 2: Backup Your Website
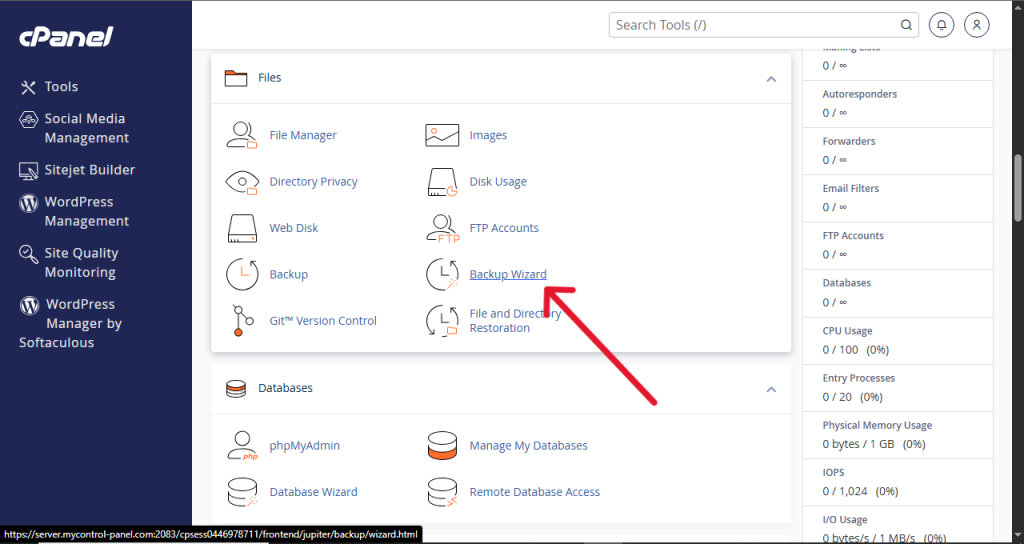
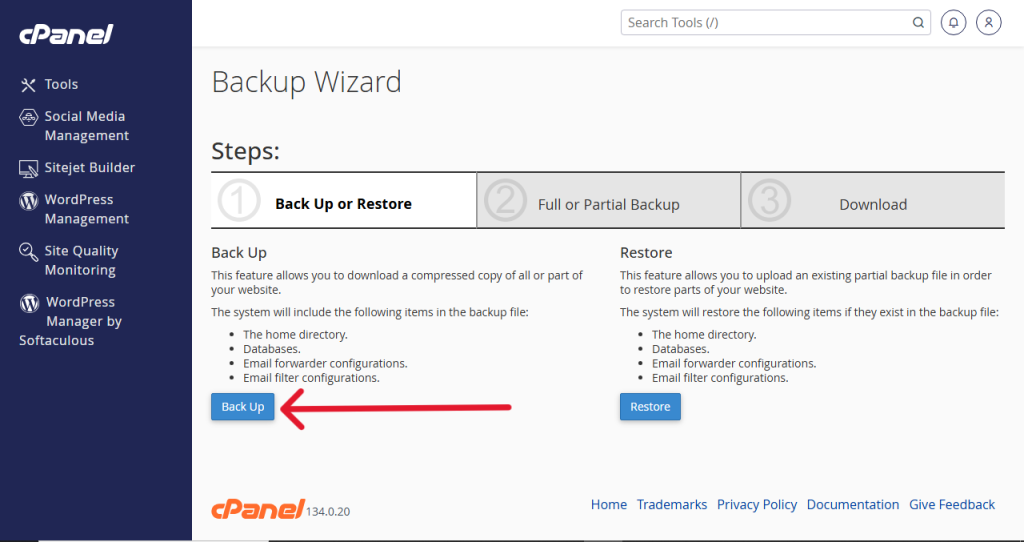
Always start by creating a full backup of your website. This includes:
- Website files
- Databases
- Emails (if applicable)
You can do this via your hosting control panel (like cPanel) or using backup plugins if you’re running a CMS like WordPress.
Having a backup ensures you can restore your site if anything goes wrong during migration.
Step 3: Upload Files to the New Server
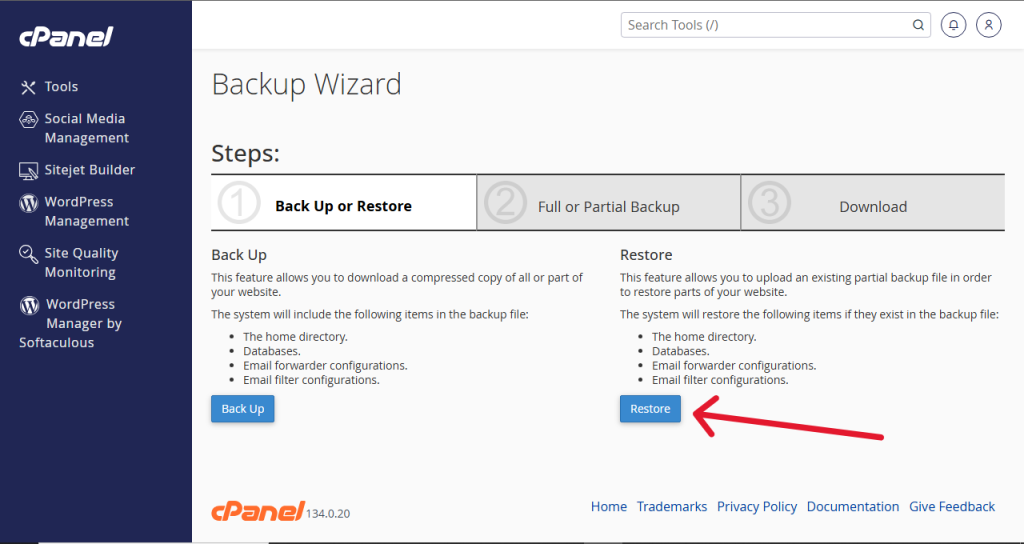
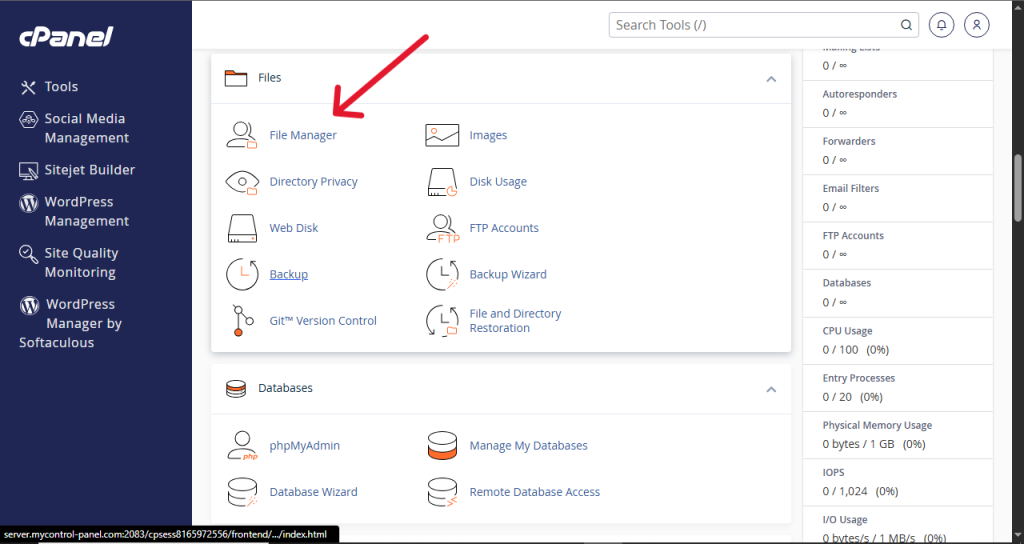
Once your new hosting account is ready:
- Log in to your new control panel
- Upload your website files using File Manager or FTP
- Place them in the correct directory (usually public_html)
Ensure all files are transferred completely without corruption.
Step 4: Import Your Database
If your website uses a database:
- Create a new database on your new host
- Import your old database using phpMyAdmin
- Update your configuration file (like wp-config.php) with the new database details
This step is crucial for dynamic websites.
Step 5: Test Your Website Before Going Live
Before updating your domain, test your website on the new server:
- Use a temporary URL or preview link
- Check pages, images, forms, and functionality
- Fix any errors before proceeding
This helps avoid issues when your visitors access the site.
Step 6: Update Your Domain DNS
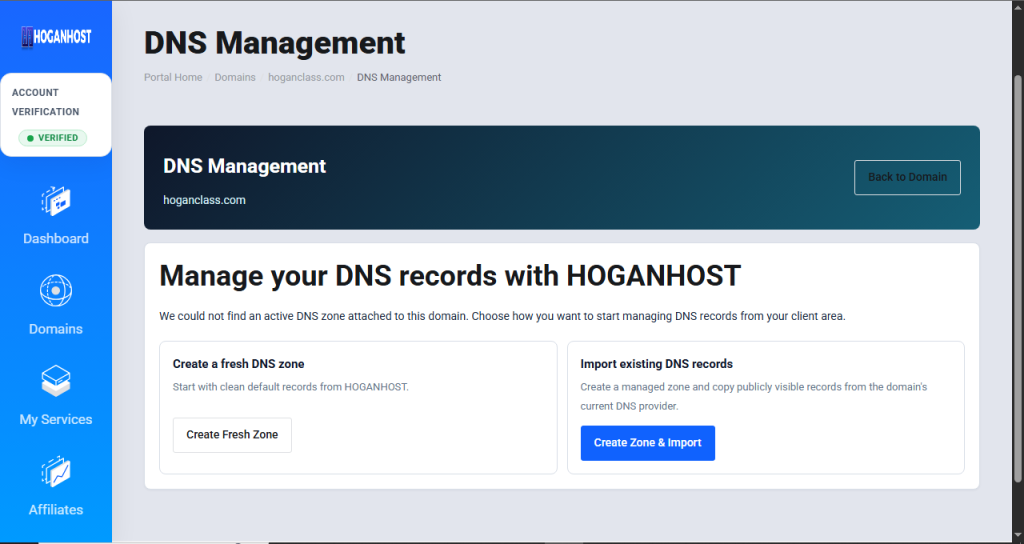
Now it’s time to point your domain to the new host:
- Go to your domain registrar
- Update the nameservers to Zuumhost’s nameservers
- Save changes
DNS propagation may take a few hours (sometimes up to 24 hours).
Step 7: Monitor Your Website After Migration
After the DNS updates:
- Confirm your website loads correctly
- Check for missing files or broken links
- Monitor performance and uptime
Once everything is working perfectly, you can safely cancel your old hosting account.
Tips for a Smooth Migration
- Perform migration during low-traffic hours
- Keep your old hosting active until everything is confirmed
- Double-check database connections
- Use professional support if unsure
Zuumhost also offers assistance to help make your migration seamless.
Final Thoughts
Migrating your website doesn’t have to be stressful when you follow the right steps. With proper backups, careful testing, and a reliable hosting provider like Zuumhost, you can move your site safely without downtime or data loss.
If you’re ready to upgrade your hosting experience, now is the perfect time to make the switch and enjoy better speed, security, and support.
That’s it!
Get Started with Cpanel Hosting: Order Now
Get Started with Cpanel Offshore: Order Now
Get Started with Reseller Hosting: Order Now